Step 7: Transplanting the Revived Orchid
Prepare a breathable, well-draining pot:
-
Use a layer of terracotta beads or hydroponic clay pebbles at the bottom.
-
Top with dry sphagnum moss to retain moisture while preventing rot.
-
Water lightly and place in a warm, shaded area with good air circulation.
-
Ideal temperature: 20–30°C (68–86°F).
Step 8: Ongoing Orchid Care
To keep your revived orchid healthy and encourage future blooms:
-
Water once a week or when the moss feels dry.
-
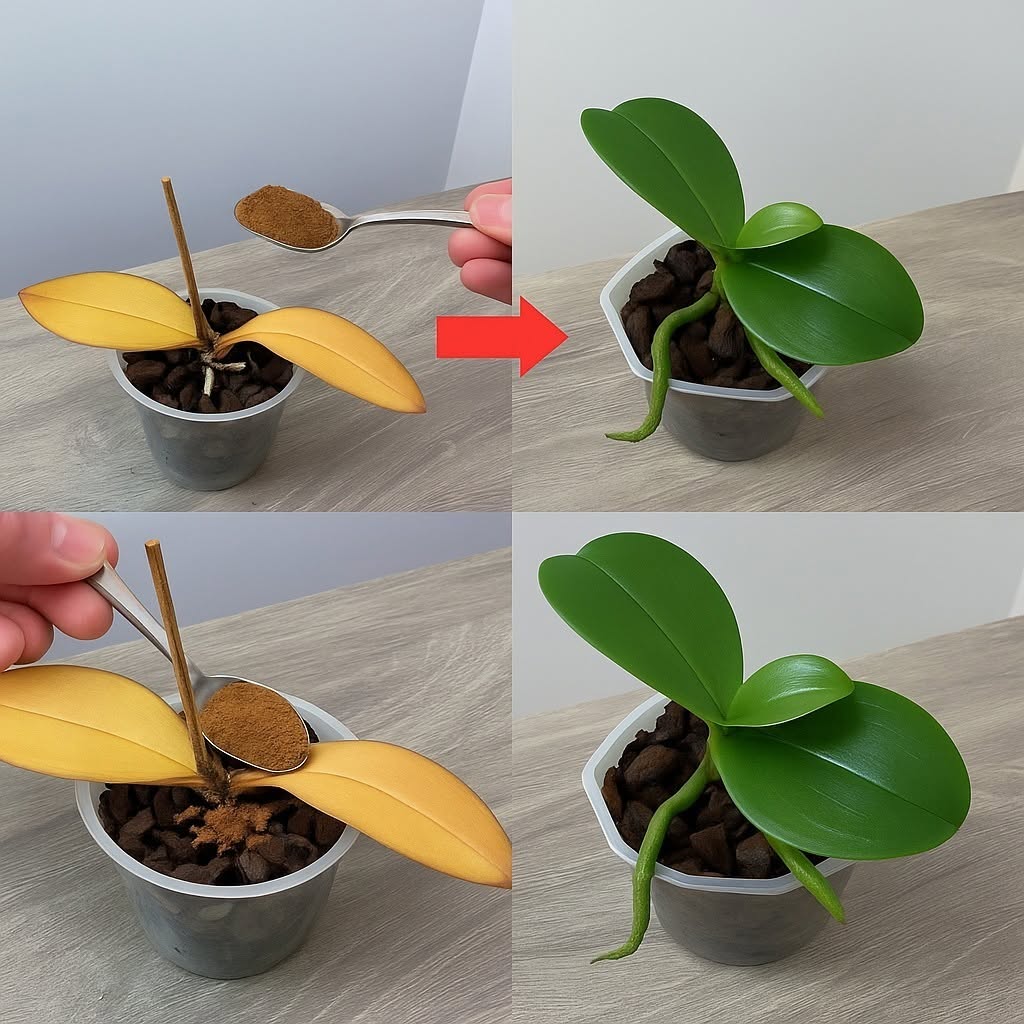
Fertilize every 2 weeks with organic solutions like:
-
Diluted rice water
-
Banana peel tea
-
Aloe vera water
-
-
Wipe leaves monthly with a baking soda solution (½ tsp baking soda in 1 liter of water) to remove dust and prevent fungal buildup.
-
Keep in bright, indirect light and maintain airflow to avoid mold.
Final Thoughts and Expected Results
With patience and attentive care, your orchid should begin forming new roots, leaves, and even flower buds within a few months. The transformation may be slow, but the results are deeply rewarding.
By reviving an orchid instead of discarding it, you not only save a plant but also cultivate resilience and sustainability in your gardening practice. With these natural techniques and gentle handling, your orchid can bloom beautifully once again.
