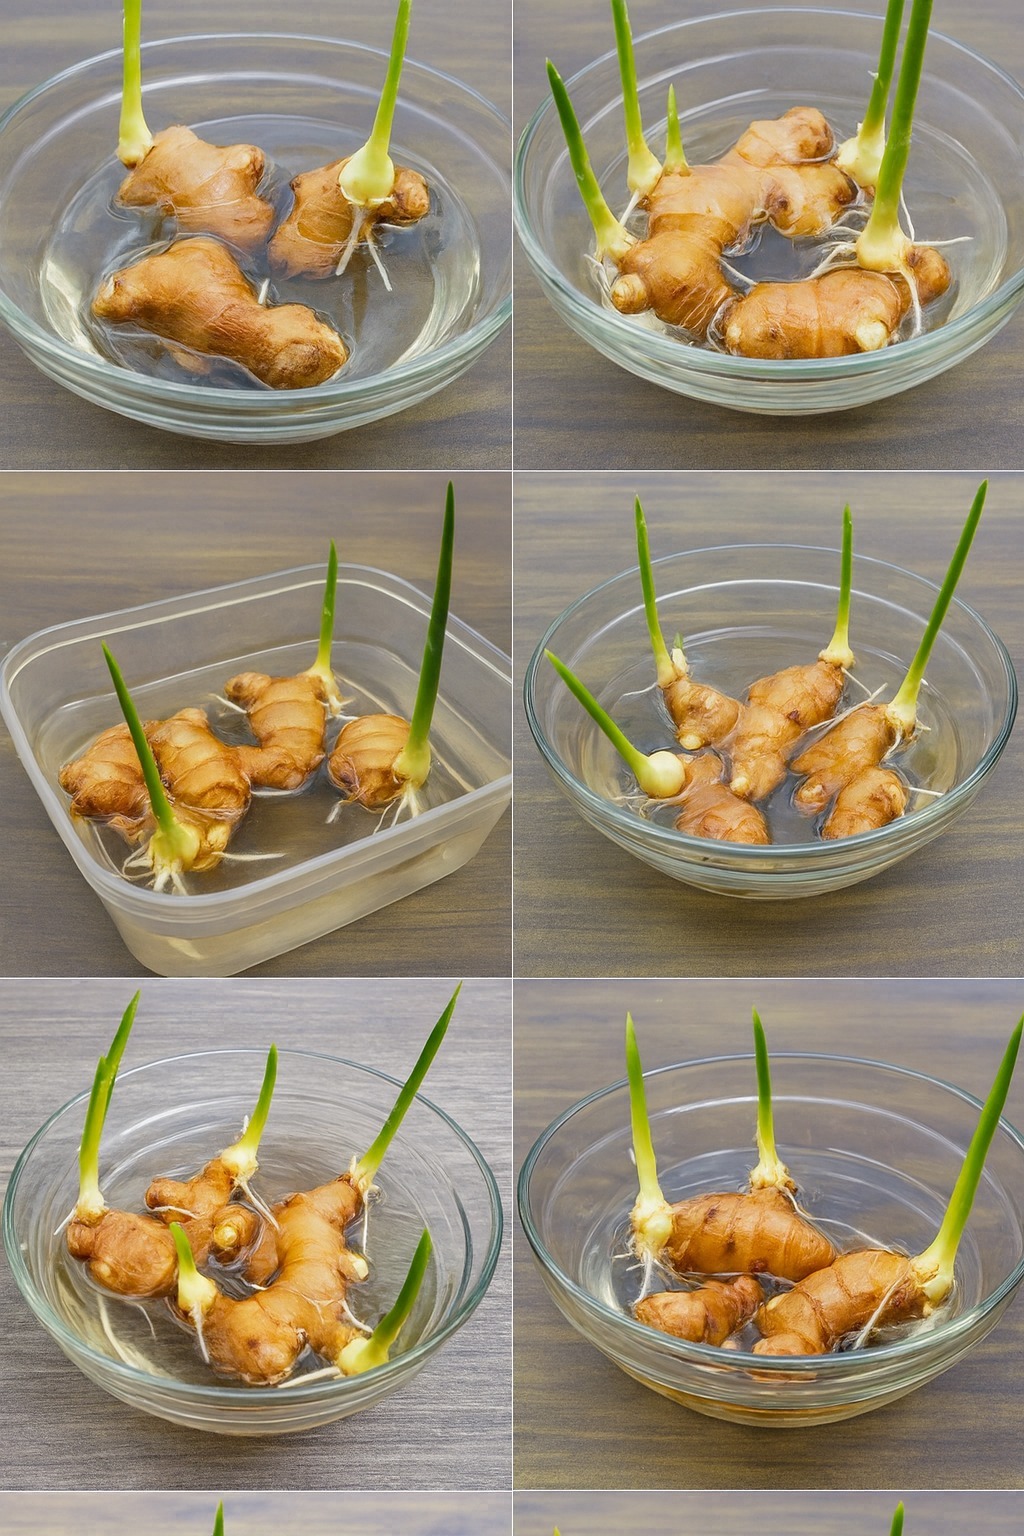
Step 3: Planting Ginger
Cut and Cure the Ginger Rhizome
If your ginger rhizome is large, cut it into 1–2-inch sections, ensuring each piece has at least one bud.
Let the cut pieces dry for 1–2 days to prevent rot before planting.
Planting the Ginger
Fill the container with soil, leaving about 2 inches from the top.
Place the ginger rhizome horizontally, with the buds facing upward.
Cover it with 1–2 inches of soil, but do not bury it too deep.
Water lightly to moisten the soil.
Step 4: Providing Proper Care
Light Requirements
Ginger grows best in indirect sunlight or partial shade. Avoid direct harsh sunlight, as it can dry out the soil.
Temperature and Humidity
Ginger prefers warm temperatures between 75–85°F (24–29°C).
Maintain humidity by misting the plant or placing a tray of water nearby.
Watering
Keep the soil consistently moist but not soggy.
Water 2–3 times a week, adjusting based on climate conditions.
Reduce watering slightly during the cooler months.
Fertilizing
Use a balanced organic fertilizer or compost tea every 3–4 weeks.
Avoid high-nitrogen fertilizers, as they encourage leafy growth rather than rhizome development.
Step 5: Harvesting Ginger
Ginger is ready for harvest in 8–10 months after planting, but you can also harvest baby ginger as early as 4–5 months.
How to Harvest Ginger
Gently dig around the plant and remove a section of the rhizome while leaving the rest to continue growing.
If harvesting the entire plant, pull it up and separate the rhizomes.
Wash off excess soil and allow the ginger to cure for a few days before use.
Step 6: Ensuring a Continuous Supply of Ginger
To ensure you NEVER run out of ginger, follow these tips:
Regrow from harvested pieces – Save a few sections of rhizomes to plant again.
Use staggered planting – Plant ginger in different pots every 2–3 months for a continuous harvest.
Propagate indoors during winter – Keep ginger in pots inside to maintain year-round growth.
Troubleshooting Common Ginger Growing Problems
1. Ginger is Not Sprouting
Possible causes:
The rhizome is too dry or old.
The soil is too wet, causing rot.
Temperatures are too low.
Solution: Keep the soil moist but not soggy, ensure warmth, and be patient—it may take 3–6 weeks to sprout.
2. Yellowing Leaves
Possible causes:
Overwatering or underwatering.
Poor soil drainage.
Nutrient deficiency.
Solution: Adjust watering habits, ensure proper drainage, and feed with organic compost or fertilizer.
3. Mold or Fungus on Soil
Possible causes:
Excessive moisture.
Poor air circulation.
Solution: Improve ventilation, reduce watering, and sprinkle cinnamon or neem powder on the soil to prevent fungus.
Creative Ways to Use Homegrown Ginger
Now that you have a steady supply of fresh ginger, here are some ways to enjoy it:
Cooking: Add to stir-fries, soups, curries, and teas.
Health Remedies: Make ginger tea for digestion and colds.
Preservation: Freeze or dry ginger for long-term use.
Beauty Treatments: Use ginger-infused oil for hair and skin care.
Final Thoughts
Growing ginger at home is a rewarding experience that ensures your family always has a fresh supply of this beneficial spice. With minimal effort, you can cultivate ginger in containers, harvest it as needed, and enjoy its incredible flavor and health benefits year-round. Start growing today, and you’ll never have to buy ginger from the store again!
